
How to Ship Prints
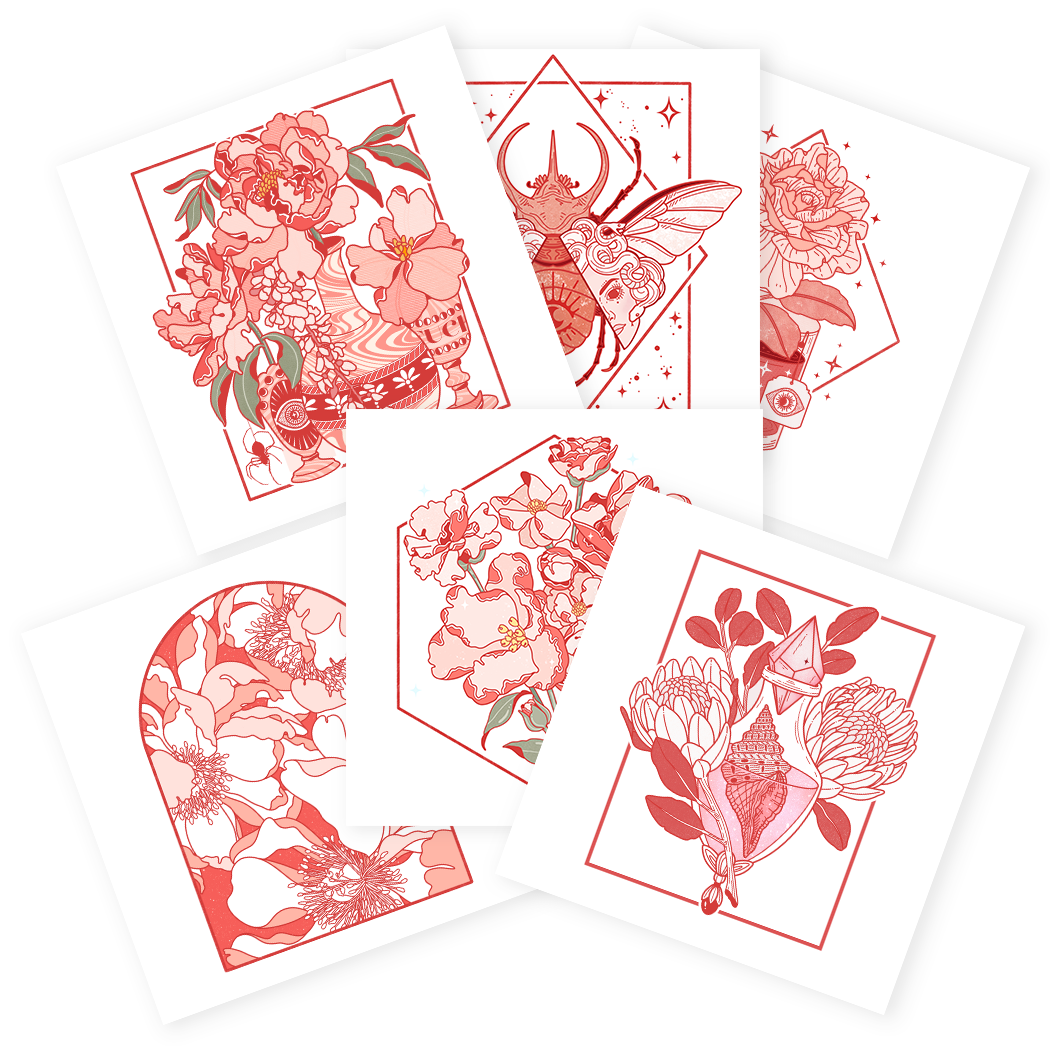
Shipping artwork does not have to be an intimidating thing. Whether you are selling prints for the first time or thinking of how to improve your current workflow, this is my guide on how to ship artwork flat. This guide references prints but you can use this method to ship original artwork, illustrations, watercolors, and other artwork 16” x 20” and under.
Materials
My main materials
Besides the prints themselves, you have to think of shipping materials. Packing materials are essential to helping your prints arrive safely and undamaged whilst in transit.
Clear print sleeves to protect your prints
Corrugated cardboard sheets or pads in various sizes
Common sizes: 4”x 6”, 5” x 7”, 8” x 10”, 11” x 14”, 12” x 16” and 16” x 20”.
I suggest having these cut at least 2-inches larger than your print.
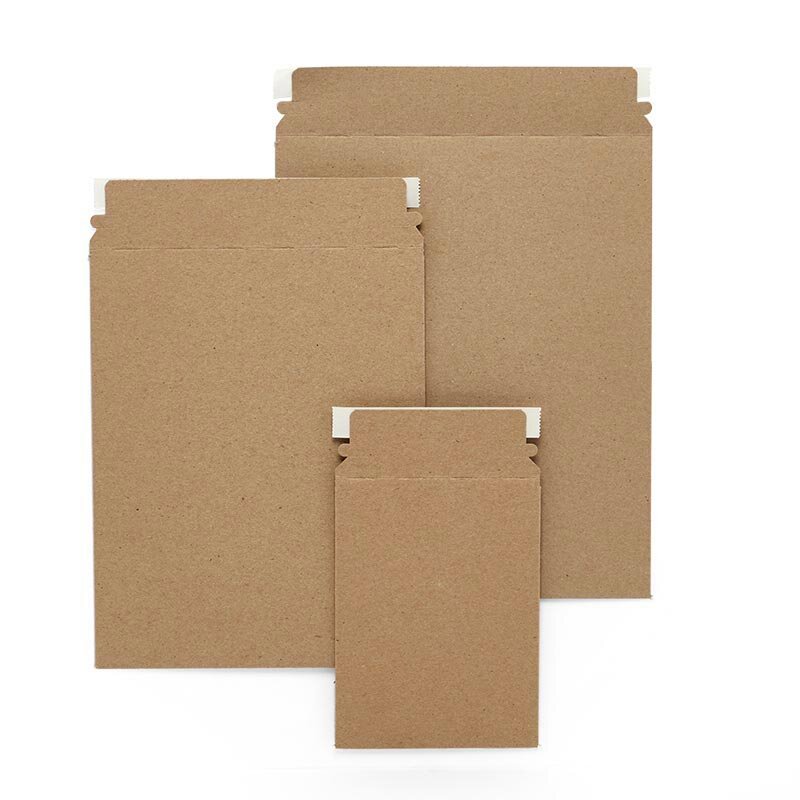
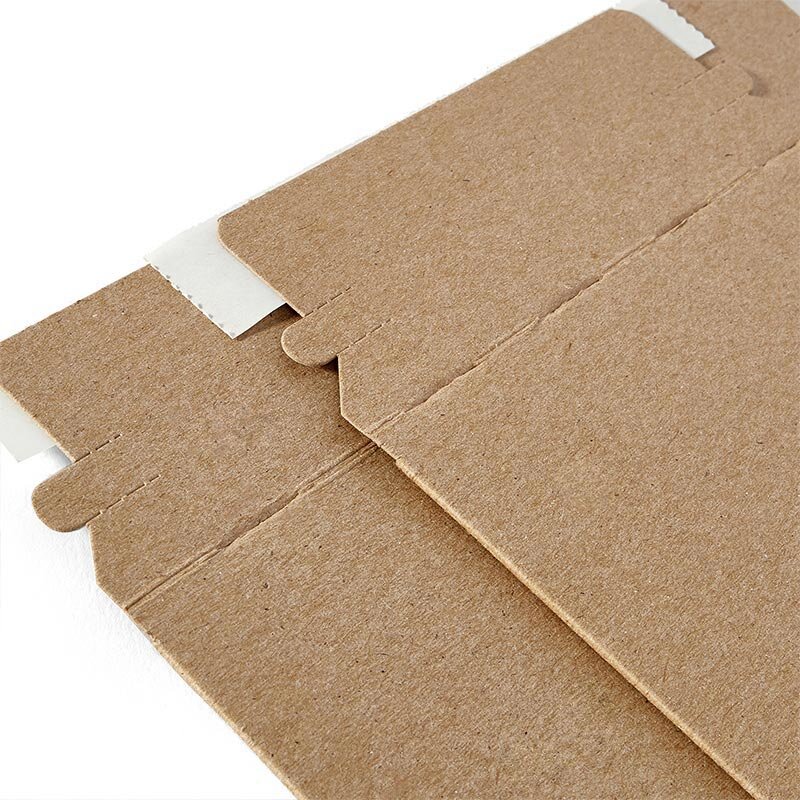
Flat style mailers with a self-seal in various sizes
Our mailer suggestions: 6x8, 11”x 14”, 13” x 18”, & 18” x 24”
Make sure they are large enough so your sandwiched print can nicely fit.
Washi Tape / Blue Tape / Artist Tape
Essentially a low residue tape of your choice
Clear or Eco-friendly Packing Tape
“Do not bend” stickers (optional)
Thank you collateral
I believe in taking your packages to the next level. From thank you notes to extra freebies don’t forget those little things!
Shipping supplies suggestions
Papermart: An all-around great shipping resource. From self-sealing bags to corrugated sheets and pads, you can get all your shipping needs in one place.
Clearbags: Just like Papermart, Clearbags is another one-stop-shop!
Amazon: We get it, sometimes you are in a pinch, need a quick turnaround, or want free shipping. You can find items there for sure but if you are buying in bulk, check out Papermart (West Coast friends) or Clearbags (midwest - east coast friends) you will get great bulk deals. If you have a reseller’s permit they also accept that to remove sales tax as well!
Clear print sleeves

Protect your prints baby! Clear print sleeves are a great way to present your work and protect it from the elements. They won’t keep your prints from drowning in a monsoon, but from most elemental events, your prints will arrive dry. I like them to also keep all my extra collateral in one place. That way when your client opens the package business cards, thank you notes, and whatnot is not spilling from the package.
When purchasing a clear sleeve MAKE SURE the sleeve is a protective closure. NOT flip seal. The protective closure type sleeves ensure that you will not have difficulty sealing your print and your customer will not accidentally snag your print on the adhesive.
Of course, you can skip this step and send prints naked between cardboard.
Note from Nestingzone: If you by chance have a nice eco option, please let us know. We are always looking to evolve with less waste. Thanks!
Reinforcement Baby!
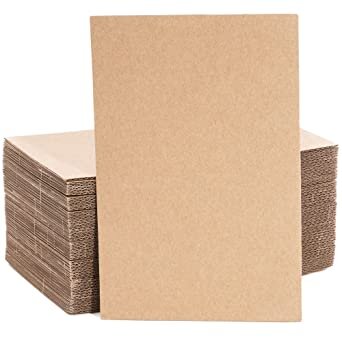
The world is a scary place, it can be an even scarier place once your artwork leaves your studio in the hands of the shipper. I am not knocking on USPS, FedEx, or UPS. They help businesses like ours send great prints. But let’s be real, if you just put your print into the post without any reinforcement, it most likely will not survive. This is where corrugated cardboard sheets or pads come in. They help your prints stay nice and flat.
Essentially when you send a print flat I suggest doing the sandwich method. Carboard behind, print in the middle, cardboard on top. your package will be less likely to bend and can take the minor toss here and there.
Your Cardboard sheets or pads should be the same size to 1 inch larger depending.
Packing up Your Prints

Once your prints plus collateral are packed safely in their clear bag, use a gentle adhesive tape like washi, blue tape, or artist tape to adhere the sleeved print to the backing cardboard. This will help the print not shift in transit. Then place the top sheet cardboard and tape the sides together. We go an extra step and wrap the package in tissue paper to match our branding but you do not have to do this.
Mail Time
When choosing your mailer, give yourself enough space to accommodate the mailer to expand when sandwiching prints. 2-inch clearance is usually golden. If you’d like to cut back to one cardboard sheet, you definitely can. We would recommend for prints larger than 11” to always ship with at least two cardboard backers.
Once your print is nicely sandwiched and taped secure, slide that baby into the right mailer. Below is my guide to picking mailers. We try to buy as few mailers as possible to fit multiple sizes of prints so these are our suggestions:
6”x 8” Mailer
4” x 4 print with cardboard
5” x 5” print with cardboard
5” x 7” print with cardboard
4” x 6” Print with cardboard
11” x 14” Mailer
8” x 10” print with cardboard
8” x 8” print with cardboard
9” x 12” print with cardboard
13” x 18” Mailer
11” x 14” print with cardboard
12” x 12” print with cardboard
12” x 16” print with cardboard
18” x 24” Mailer
16” x 20” print - 16.5” x 20” cardboard. You can also add another sheet of cardboard for extra padding.
BONUS
USPS Priority Mail Padded Flat Rate Envelopes
These envelopes are FREE and you can order them online via USPS! They come in one size 9.5” x 12.5” and whatever fits…ships flat rate!
You can also use Flat Rate Envelopes but something about the extra padding of the former makes things feel safer.
Extra-extra bonus, both of these envelopes include USPS Tracking and up to $50 of insurance with most shipments.
Signed and Sealed
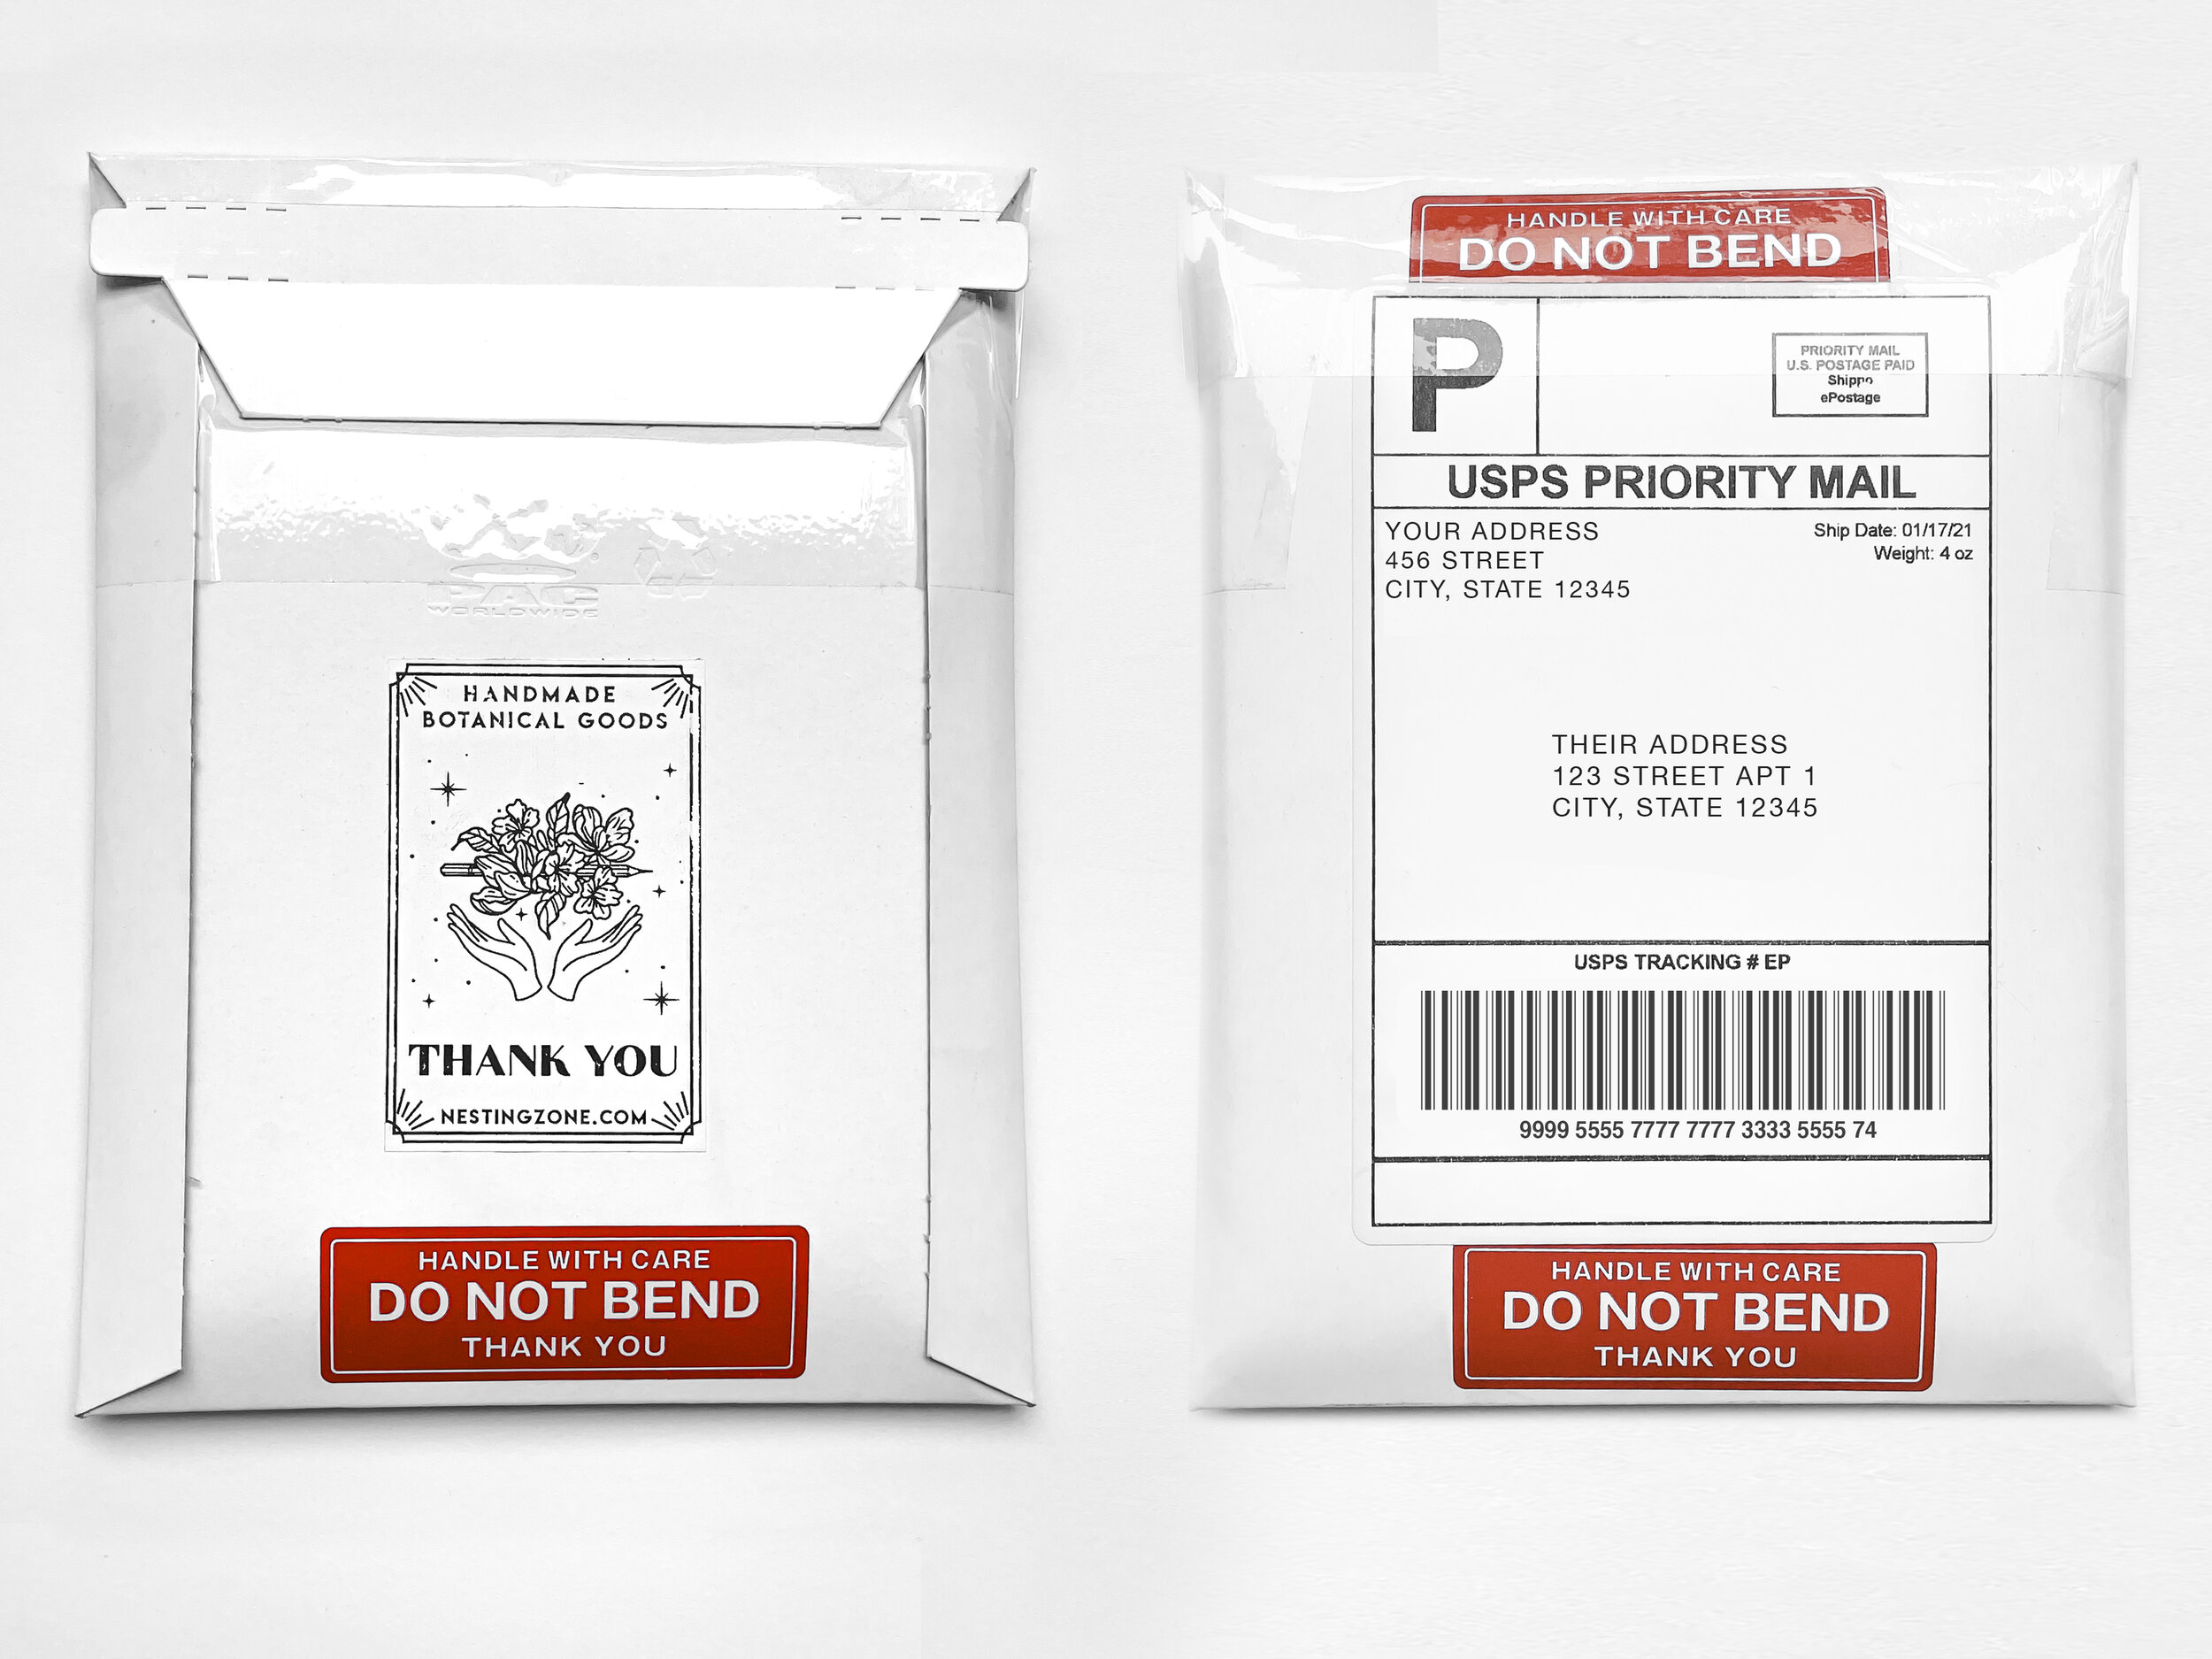
Now your prints are safely packed, seal that baby up! This is the magic of self-seal flat-style mailers, it’s built right in. You just have to unpeel, press then seal.
Pro tip: We recommend taping along the opening edge just in case. Then add your shipping label with 3-4 DO NOT BEND STICKERS just in case. You never know.
That’s it! You’ll be pro shipper in no time, happy print shipping friends!
Other fun things:
If you are shipping more than 1 print, stack prints in individual clear sleeves or double up and reverse prints in one clear sleeve.
Purchase a scale to weigh your packages.
Automate shipping with Goshippo, Shipstation, etc.
Purchase a label printer - We use Rollo and love it, Dymo is tried and true as well.